
Old-Fashioned Yeast Rolls Recipe: Baker’s Secret to Perfect Homemade Rolls
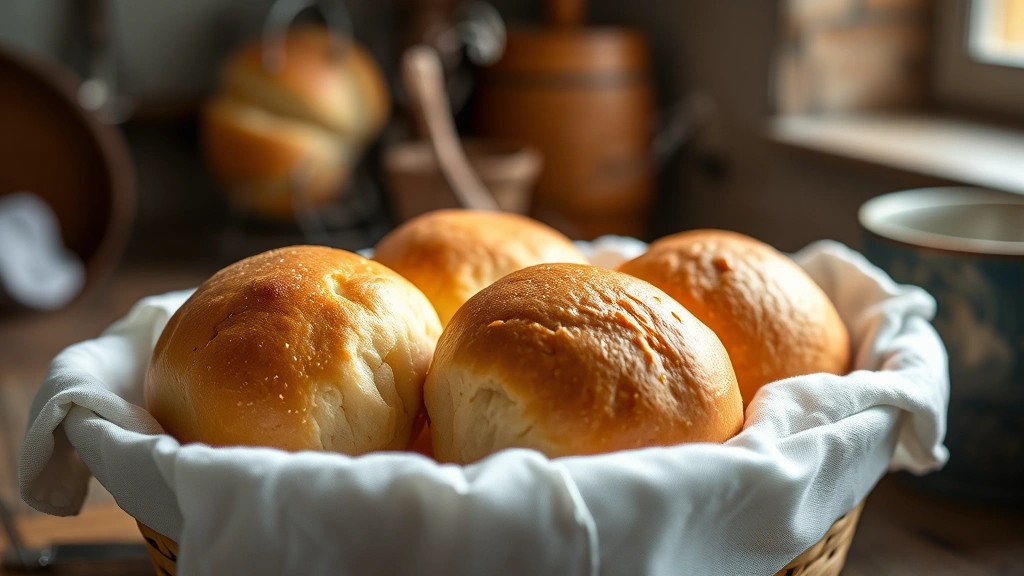
There’s something undeniably magical about the aroma of freshly baked old-fashioned yeast rolls wafting through your kitchen. These classic bread rolls have graced family dinner tables for generations, representing comfort, tradition, and the art of patient baking. The secret to achieving those perfectly golden, soft-crumb rolls that rival any bakery lies not in complicated techniques, but in understanding the fundamental principles of yeast fermentation and dough development. Whether you’re preparing for a holiday feast, a casual Sunday dinner, or simply craving that nostalgic taste of homemade goodness, mastering this timeless recipe will transform your baking repertoire.
The beauty of old-fashioned yeast rolls extends beyond their delicious taste—it’s about the entire experience. From the initial mixing of ingredients to the satisfying moment when you pull a tray of golden-brown rolls from your oven, every step tells a story of culinary tradition. These rolls pair beautifully with any meal, much like how fashion style complements your personal aesthetic. Just as finding your personal style takes time and practice, perfecting yeast rolls requires patience and attention to detail. This comprehensive guide reveals the baker’s secrets that separate mediocre rolls from exceptional ones.
Essential Ingredients for Perfect Rolls
The foundation of exceptional old-fashioned yeast rolls begins with selecting quality ingredients. Each component plays a crucial role in developing flavor, texture, and structure. Unlike trendy cooking fads that come and go, these traditional ingredients have stood the test of time because they genuinely work.
You’ll need all-purpose flour as your primary ingredient—typically 4 to 5 cups depending on humidity. The flour provides structure through its gluten network, which develops during mixing and kneading. Active dry yeast or instant yeast serves as your leavening agent, creating those characteristic air pockets that make rolls so wonderfully light. One to two packets (about 2.25 teaspoons per packet) is standard for this recipe.
Warm milk (between 110-115°F) activates the yeast and hydrates the flour. Whole milk contributes richness and tenderness to the final product, though you can substitute with water if preferred. Butter, preferably unsalted, adds flavor and creates a tender crumb. You’ll need approximately 3 tablespoons melted, plus additional butter for brushing. Sugar (2-3 tablespoons) feeds the yeast and adds subtle sweetness. Salt (1-1.5 teaspoons) controls fermentation rate and enhances flavor. Finally, eggs (1-2 large) enrich the dough, contributing to a golden color and soft texture.
The quality of these ingredients directly impacts your results. Just as fashion accessories elevate an outfit, premium ingredients elevate your baking. Room-temperature eggs incorporate more smoothly, and high-quality butter produces superior flavor compared to margarine.
Step-by-Step Baking Process
Mastering the old-fashioned yeast rolls recipe requires following a logical sequence that respects the yeast’s needs and allows proper gluten development.
Step One: Activate Your Yeast
Begin by combining your warm milk with sugar and yeast in a large mixing bowl. Let this mixture sit undisturbed for 5-10 minutes until it becomes foamy—this proves your yeast is alive and active. A lack of foam indicates dead yeast, which would result in dense, flat rolls. This step is non-negotiable for success.
Step Two: Combine Wet Ingredients
Once your yeast mixture is foamy, add melted butter and beaten eggs. Whisk these together gently until well incorporated. The combination should be smooth and uniform before adding flour. This ensures even distribution of fat and eggs throughout your dough.
Step Three: Incorporate Dry Ingredients
In a separate bowl, whisk together your flour and salt. Gradually add this mixture to your wet ingredients, stirring with a wooden spoon until a shaggy dough forms. Don’t worry if it looks rough—this is exactly where it should be at this stage. Incorporating flour gradually prevents lumps and ensures even hydration.
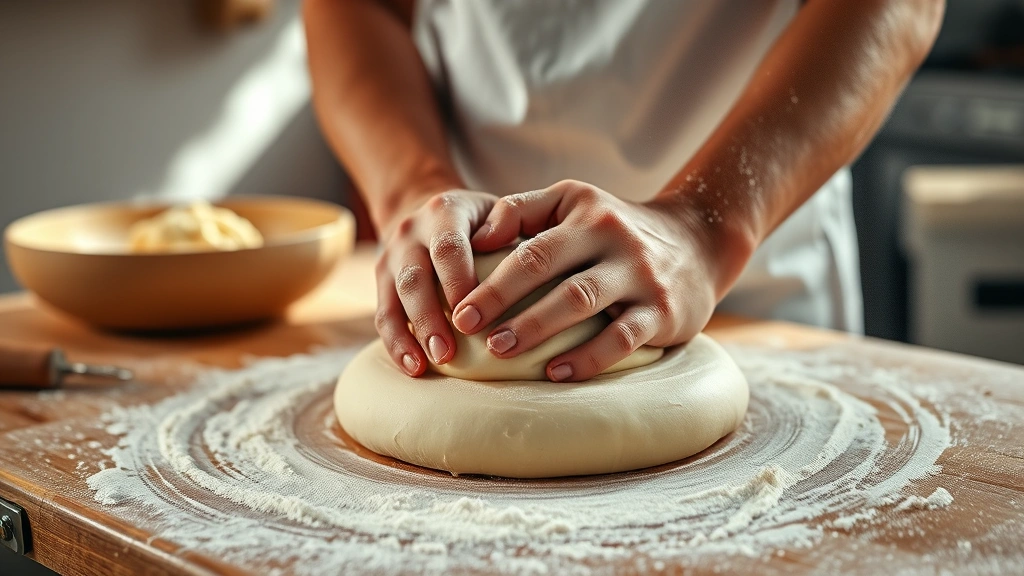
Step Four: Knead Your Dough
Turn your dough onto a lightly floured work surface and knead for 8-10 minutes. This crucial step develops gluten, creating the network that traps gas bubbles and gives rolls their characteristic texture. Your dough should transform from rough and sticky to smooth and elastic. When ready, it should spring back slowly when poked and feel somewhat silky to the touch.
Step Five: First Rise
Place your kneaded dough in a lightly greased bowl, turning to coat all sides. Cover with a damp kitchen towel or plastic wrap and let rise in a warm location for 1-1.5 hours until doubled in volume. The ideal temperature is around 75-80°F. A warm oven with the light on, a proofing box, or even a turned-off microwave works perfectly for this purpose.
Fermentation Secrets Revealed
The fermentation process is where old-fashioned yeast rolls develop their characteristic flavor and texture. Understanding what happens during this time separates amateur bakers from true artisans.
Yeast cells consume sugars and produce carbon dioxide (creating rise) and alcohol (contributing flavor). This metabolic process requires time—rushing fermentation results in flat, flavorless rolls. Professional bakers often use cold fermentation, allowing dough to rise slowly in the refrigerator for 8-24 hours. This extended fermentation develops deeper, more complex flavors.
Temperature dramatically affects fermentation speed. Warmer environments accelerate yeast activity, while cooler temperatures slow it down. A room-temperature rise (70-75°F) typically requires 1.5-2 hours, while a cool room might need 3-4 hours. The advantage of slower fermentation is superior flavor development. You can even proof your dough overnight in the refrigerator, then bring it to room temperature before the final proof.
The concept of fermentation timing parallels how style loom daily blog explores timeless principles—some things simply cannot be rushed. Patience in fermentation yields dividends in flavor and texture that quick methods cannot match. Professional bakers understand that time is an ingredient, not an obstacle.
Watch your dough carefully rather than relying solely on time. It should increase noticeably in volume and feel airy when gently pressed. Properly fermented dough will have visible bubbles throughout when you break into it. Over-fermented dough becomes sticky and loses its ability to hold structure, resulting in flat rolls. Under-fermented dough produces dense, gummy rolls with insufficient rise.
Shaping and Proofing Techniques
After your first rise, punch down your dough gently to release excess gas. This step redistributes nutrients and yeast cells for the final rise. Turn the dough onto a lightly floured surface and shape it into a large ball.
Dividing Your Dough
Divide your dough into 12-16 equal pieces using a bench scraper or sharp knife. Even sizing ensures uniform baking. Weigh portions if you want precision—each roll should weigh approximately 1.5-2 ounces. Consistent sizing means all rolls finish baking simultaneously with uniform browning.
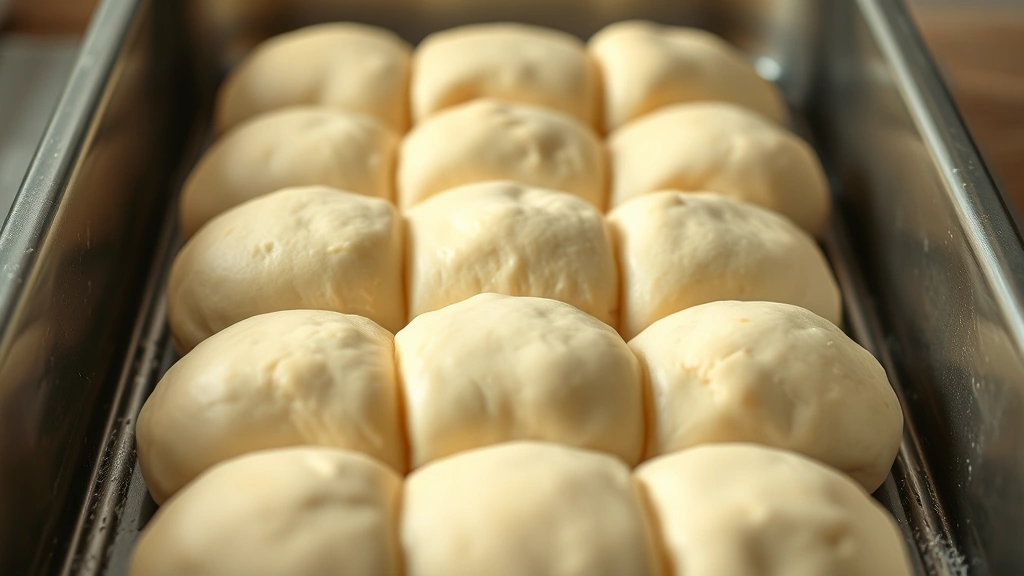
Shaping Individual Rolls
Take each dough piece and cup it in your palm. Gently roll it against the work surface using a circular motion, creating tension on the surface. This tension helps the dough hold its round shape. Place each shaped roll in a greased 9×13-inch baking pan or muffin tins, spacing them close together (about 1 inch apart). Rolls baked close together create soft sides, while those spaced further apart develop crispier exteriors.
Final Proofing
Cover your shaped rolls with a damp towel and let them proof for 45 minutes to 1 hour until puffy and nearly doubled. They should rise above the pan’s edge by about 1 inch. Properly proofed rolls will spring back slowly when gently poked—if your finger leaves an impression that doesn’t bounce back, they’ve over-proofed; if they spring back immediately, they need more time.
The precision required in shaping and proofing reminds us of how types of fashion require specific techniques to execute properly. Just as different fashion styles demand different approaches, different shaping methods produce different results.
Baking and Finishing Touches
Preheat your oven to 375-400°F approximately 15 minutes before baking. The exact temperature depends on your oven’s characteristics—some run hot, others cool. Start at 375°F and adjust based on results.
Pre-Baking Preparation
Before baking, brush your proofed rolls with an egg wash (1 egg beaten with 1 tablespoon water). This creates a beautiful golden-brown exterior and adds shine. Some bakers prefer brushing with melted butter instead for a rustic appearance. If desired, sprinkle with coarse sea salt, sesame seeds, or poppy seeds before baking.
Baking Process
Bake for 18-25 minutes until golden brown on top. The rolls should sound hollow when tapped on the bottom, indicating the interior has cooked through. Internal temperature should reach 190-200°F when measured with an instant-read thermometer in the center of a roll. Baking time varies based on pan size and oven characteristics, so start checking at 15 minutes.
Finishing Touches
Remove rolls from the oven and immediately brush with softened butter while still warm. This adds richness and keeps the crust soft. Some traditional recipes call for brushing with a honey-butter mixture for subtle sweetness. Let rolls cool in the pan for 5 minutes before turning out onto a wire rack.
Common Mistakes and Solutions
Even experienced bakers encounter challenges with old-fashioned yeast rolls. Understanding common issues helps you troubleshoot and improve.
Dense, Heavy Rolls
This typically results from under-fermentation, insufficient kneading, or dead yeast. Ensure your yeast is fresh and properly activated (should foam within 10 minutes). Knead for the full 8-10 minutes to develop adequate gluten. Allow proper rise time—dough should noticeably increase in volume.
Flat, Gummy Rolls
Over-fermentation or over-proofing causes this issue. Watch your dough carefully and don’t rely solely on time. If rolls are gummy inside despite proper baking time, your oven temperature may be too low. Use an oven thermometer to verify accuracy.
Rolls Not Rising
Dead yeast, too-cold water, or too much salt can inhibit rising. Check your yeast’s expiration date and activate it in water between 110-115°F—too hot kills yeast, too cold doesn’t activate it. Ensure you’re using the correct salt amount; excess salt inhibits fermentation.
Uneven Browning
Oven hot spots cause uneven browning. Rotate your pan halfway through baking. If the top browns too quickly while the interior remains underbaked, lower your oven temperature by 25°F and extend baking time.
Overly Thick Crust
A crust that’s too thick results from insufficient humidity in your oven. Place a pan of hot water on the lower oven rack during baking to create steam, which keeps the crust softer. Alternatively, cover rolls loosely with foil during the last 5 minutes of baking if browning too quickly.
Storage and Serving Tips
Proper storage ensures your old-fashioned yeast rolls maintain freshness and quality for days.
Room Temperature Storage
Store cooled rolls in an airtight container at room temperature for up to 2 days. Rolls continue to stale over time as moisture migrates from the crumb to the crust. Keeping them sealed slows this process significantly.
Freezer Storage
Rolls freeze beautifully for up to 3 months. Cool completely, then place in freezer bags, removing as much air as possible. Thaw at room temperature for 2-3 hours, then warm in a 350°F oven for 10-15 minutes. You can also reheat frozen rolls directly in the oven without thawing—just extend heating time to 20-25 minutes.
Reheating Methods
For best results, wrap rolls in foil and warm in a 350°F oven for 10-15 minutes. This gentle reheating restores softness without drying them out. Microwave reheating works quickly but can make rolls tough—use the microwave only when necessary, heating for just 15-20 seconds per roll.
Serving these rolls demonstrates hospitality much like how how to dress for a job interview shows professional respect—presentation and care matter. Present warm rolls in a basket lined with cloth, brushed with melted butter and fresh herbs like parsley or rosemary.
For more inspiration on presentation and entertaining, explore the fashion style section, which covers creating beautiful table settings and entertaining aesthetics that complement your culinary creations.
FAQ
Can I use instant yeast instead of active dry yeast in old-fashioned yeast rolls?
Yes, instant yeast and active dry yeast are interchangeable in equal amounts. Instant yeast ferments slightly faster due to smaller granules, but the results are nearly identical. Some bakers prefer instant yeast for marginally more reliable fermentation.
What’s the best way to know when my dough has risen enough?
The dough should approximately double in volume and feel airy when gently pressed. A poke test works well—if your finger leaves an impression that slowly springs back about halfway, fermentation is complete. If it springs back immediately, it needs more time. If it doesn’t spring back at all, it’s over-fermented.
Can I make old-fashioned yeast rolls ahead of time?
Absolutely. You can refrigerate shaped rolls for up to 24 hours before the final proof. Simply cover them tightly with plastic wrap, refrigerate, then bring to room temperature and let proof for 1-2 hours before baking. This actually improves flavor through extended fermentation.
Why are my rolls browning too quickly on top?
Your oven temperature may be too high, or your rolls may be positioned too close to the heating element. Lower your oven temperature by 25°F, move the oven rack to the middle position, or cover rolls loosely with foil during baking to prevent over-browning while the interior finishes cooking.
Is it necessary to use milk in old-fashioned yeast rolls?
While traditional recipes use milk for richness and tenderness, you can substitute with water or a milk alternative. The results will be slightly less rich but still delicious. Some bakers use a combination of milk and water for balanced flavor.
How can I achieve a softer crust on my rolls?
Brush rolls with melted butter immediately after baking while they’re still hot. Store them in an airtight container once cooled. You can also create steam during baking by placing a pan of hot water on the lower oven rack, which produces a softer, less crispy crust.
What’s the difference between old-fashioned yeast rolls and dinner rolls?
Old-fashioned yeast rolls typically refer to the classic butter roll style, often enriched with eggs and milk. Dinner rolls is a broader category that includes various styles. Old-fashioned rolls specifically emphasize traditional techniques and rich, tender texture.